One of the essential skills that every DIY landlord should learn is to wire a light switch. As a landlord, your rental apartment will probably need to have a light switch replaced from time to time, and paying an electrician isn’t the most cost-effective option. We will share different methods to wire a light switch on your own without hiring a service professional and avoid unnecessary costs.
Important! If you've never worked with wiring before, hire an electrician and ask if you can observe their work so you can learn to install a light switch.
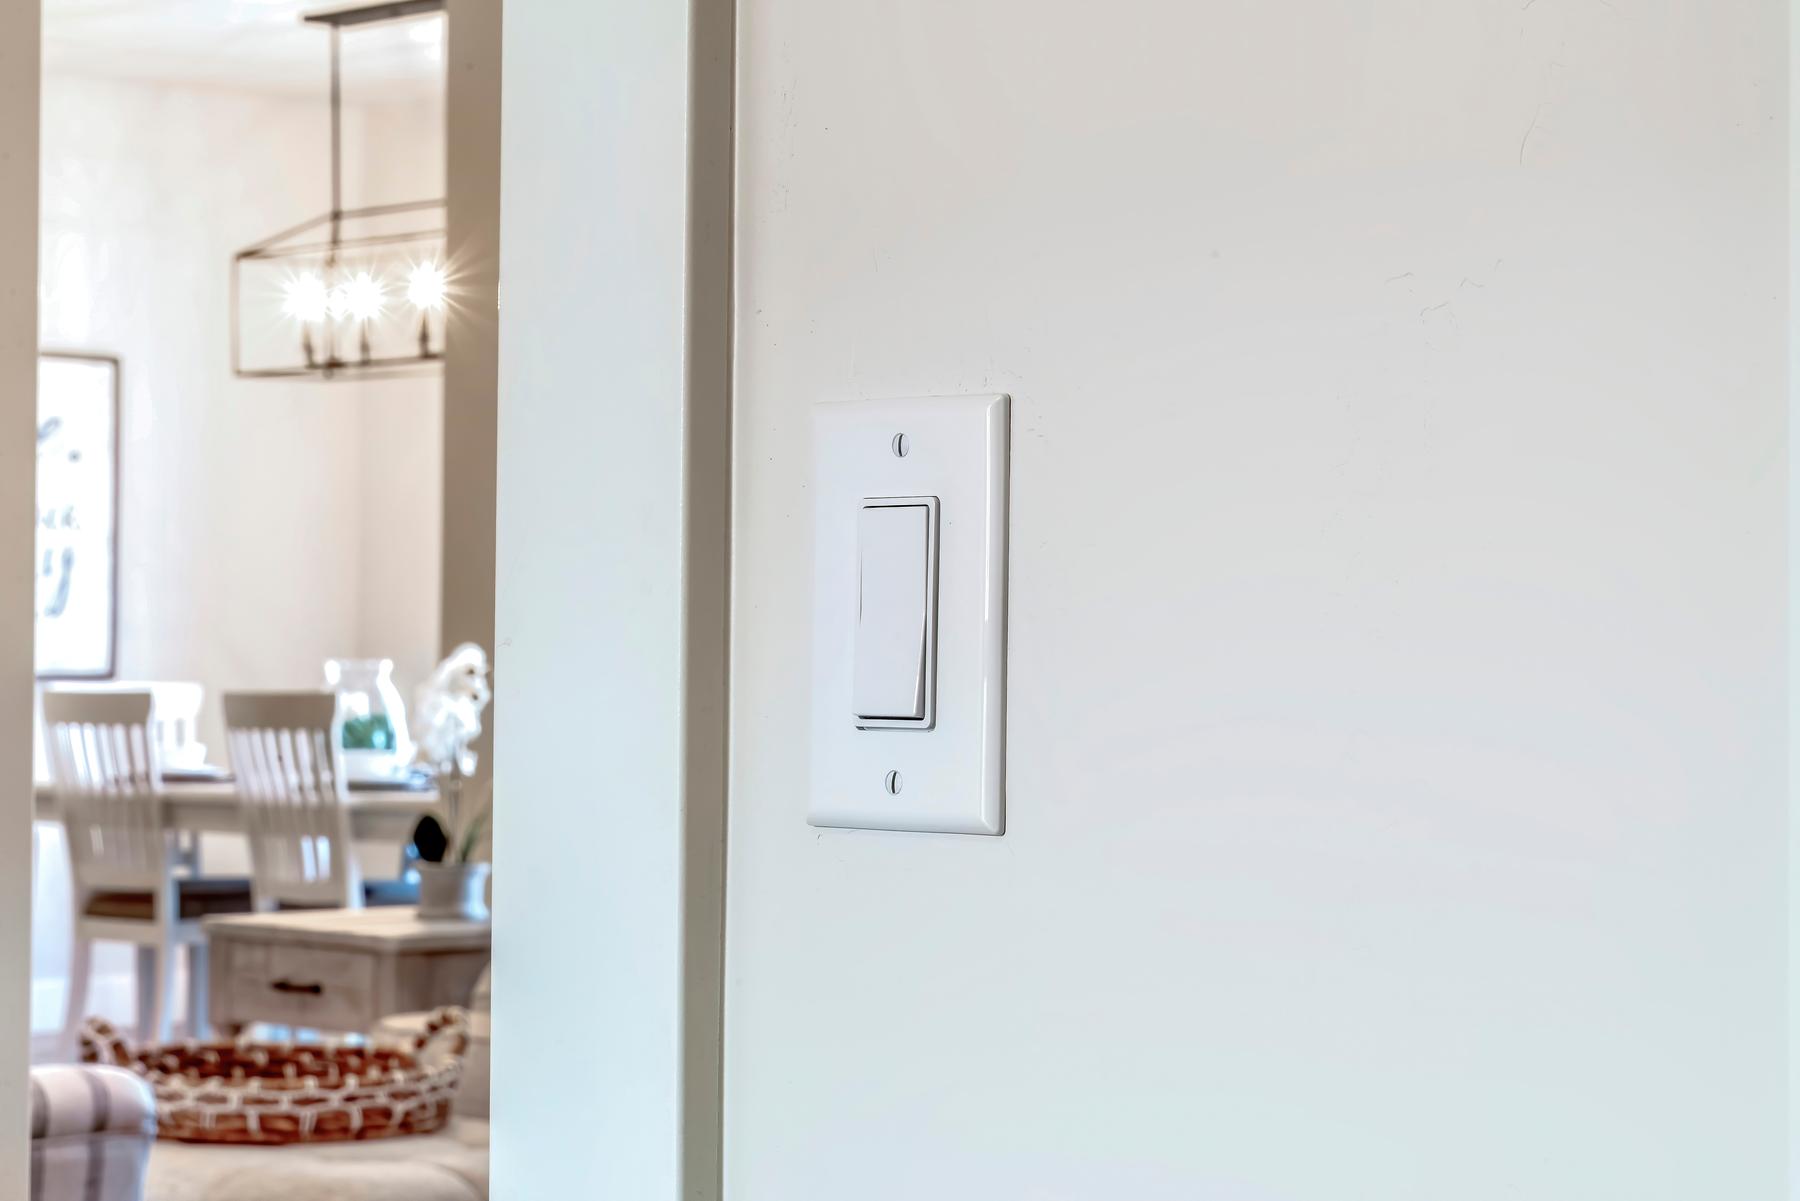
To safely connect your switches, follow these steps.
How to Wire a Single Pole Light Switch?
Be sure that the electrical current to the circuit you’re working on has been turned off at the home’s breaker panel before beginning any electrical component maintenance. Before proceeding, check the power source with a multimeter or a comparable piece of equipment. Electrical safety is essential.
1. Switch off the power supply.
2. Identify terminal and ground wires. Keep the layout of the wires.
- Two black wires should be visible, each connected to a separate screw on the switch’s side. These are terminal screws.
- Two white (neutral) cables that link to one another should be in the switch box. Use a wire nut to secure the connection.
- Three green or bare copper wires should also be visible. They are ground wires.
The shortest wire is connected to a green screw on the light switch, and the other two will be connected in a single wire nut.
3. Disconnect the terminal and ground wires.
Disconnect the terminal wires by loosening the screws that hold them in place. To unravel a tight coil, release the terminal wires, if required, with pliers. Release the ground wire as well. At this point, you should be able to take the switch off the wall. Bend the dangling wires out of the way if it makes things easier for you.
4. Look for any evidence of damage to the wires.
Check the ends of the wires for signs of fraying. With a multi-tool or wire cutters, clip off any deteriorated areas. On each length, remember to leave about a half-inch of wire exposed.
Because electrical wires are subjected to stress over time and might weaken with use, you must verify that any piece of the wire that makes contact with the screws is undamaged while reattaching the wires to the new switch.
5. Сonnect the wires to the new switch.
Bend each exposed wire into a circular hook using a multi-tool or pliers. Make those hooks as tight as possible to fit around the curvature of the screws on the replacement light switch. The proper wiring of light switch terminals enables a fully working light switch.
Attach the wires’ connected ends to the new switch next. Begin by connecting the black wires to the terminal screws on the right side. The hooks on their hooks should be positioned clockwise. Connect the green wire, commonly known as the ground, to the left-hand screw. Although needle-nose pliers are not required, they may assist in keeping the wires in place as you tighten each screw.
6. Replace the switch plate and reattach the wires.
Wrap electrical tape over the switch’s body and terminal screws to protect it from fire. Finally, reinstall the switch plate and turn the circuit breaker back on after screwing the switch back into the wall.
7. Examine the wiring of the light switch.
When you have done everything correctly, the light should come on when you turn on the switch. If it doesn’t, the issue is almost definitely a faulty connection.
Remove the wire nut from the neutral (white wires) and double-check whether they are tightly twisted together. Replace the cover, turn on the breaker, and flick on the light switch once more—it should come on.
Related: How to Properly Dispose of Light Bulbs? Main Things to Know
How to Wire a 3-way Switch with Multiple Lights?
When having only one light switch isn’t enough, employing two three-way switches might be helpful. Two three-way switches, for example, allow you to turn on a stairway light from either the top or bottom of the stairwell.
Replacing a three-way switch is similar to replacing a single-pole switch, only there are additional wires in the box.
Steps 1 and 2 are identical to wiring a single pole switch.
1. Identify terminal and ground wires.
In a three-way switch, two distinct types of wire cables are used. From the breaker to the switch box, a conventional 14:2 cord with a white wire, a black wire, and a ground wire transports electricity. The first switch is connected to the second switch and to the light through a 14:3 cable with black, white, red, and ground wires.
The easiest way to wire a three-way switch is to run the first switch to the light and then to the second switch.
2. Indicate the identical wire in the first box.
There are eight wires in the first switch box (the box where the electricity comes in). Two white (neutral) wires should be joined, and a wire nut is used to secure them. The “common” wire will be linked to a black or copper screw terminal, and it must be distinguished from the other. Put a piece of electrical tape on the common wire before detaching it.
Traveler wires are three ground wires that are linked within a single wire nut, as well as black and red wire. They connect to the light and to the second switch.
3. Identify the identical wire in the second box.
The second switch box will only have four wires in this wiring configuration: a black wire, a white wire, a red wire, and a ground wire. The white wire is used as a hot wire rather than a neutral wire – it is tagged with black electrical tape or black paint. The common wire in the box is black and connects to the common terminal. Label this common wire as well to aid in keeping it straight.
4. Disconnect the wires.
Once you identify both common wires, unscrew the terminal screws with a screwdriver and remove the wires linked to them. Twist the nuts off the wires to one another and cover them with wire nuts to reveal the bare wire ends. Now it’s time to put the new switches in place.
5. Install the new switches and connect them.
Examine the switches—always use the same kind of switch for both when installing new three-way switches.
- Connect the “common” wires to the terminals on both new switches.
- Connect the red wire to a terminal on the switch’s top side. The red wire is a traveler wire that may be attached to either the upper left or right terminal.
- Then connect the second traveler wire to the terminal opposite the red wire terminal. It is the black wire that you did not mark as “common” in the first box. It is a white wire with black paint or tape that indicates a hot wire in the second box.
- By twisting the white neutral wires in the first box together and fastening them with a wire nut, you should connect them.
- Twist the three ground wires together and secure them with a wire nut in the first box. Connect the green terminal on the switch to the end of the shortest ground wire.
- Only the ground wire in the second box has to be connected now. Connect it to the switch’s brass or green terminal screw.
6. Replace the covers and make sure the switches are working.
After you connect the wires, fasten the switches to the switch box with two screws and reinstall the switch plates. Switch the breaker that delivers electricity to the off position and test each switch by turning them on.
Related: How to Clean a Grill After Use: The Ultimate Step-by-Step Guide
Final Words
Wiring a light switch is not as hard as it seems. Like any other DIY repair job, it just takes a little patience and know-how.
“Edison failed 10,000 times before he made the electric light. Do not be discouraged if you fail a few times.”
Napoleon Hill
Though some DIY projects are easy to complete, for others, there are repairs that require professional skills and specific equipment. If you’re unsure whether or not you can handle a maintenance request in your rental property, find a service professional in your area by posting a bid request.
Please note that the option is available for maintenance requests in a “new” status only.
Check out the Help Center article to get step by step instructions:
How can I find a service professional within the system?