
TL;DR
A rental inspection checklist documents a property’s condition at move-in, move-out, and during routine checks. It helps prevent disputes, protects both landlords and tenants, and provides proof if issues arise. Without it, you risk deposit conflicts, repair costs, safety issues, and legal problems. A thorough checklist, with photos and signatures, keeps expectations clear and reduces risk—even in states where it is not required.
A move-in checklist is an essential document that can help generate more consistent rental revenue from satisfied tenants, maintain a rental property in excellent condition, and reduce the likelihood of tenant disputes if the security deposit is used to cover tenant-caused damage.
Depending on local laws, landlords may be required to conduct a rental property inspection before tenants move in and after they move out.
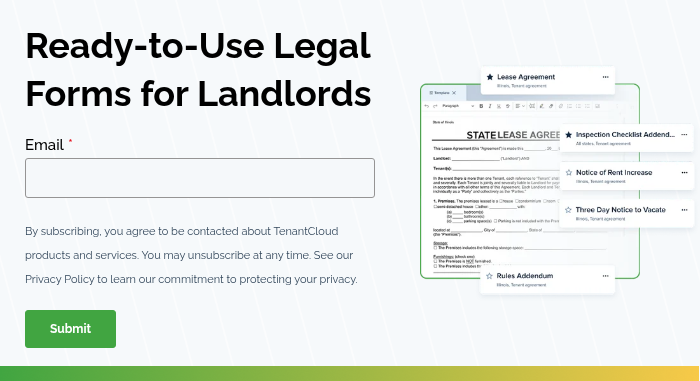
An Inspection Checklist Addendum is a vital document used to identify damage to a property beyond normal wear and tear.
What Is a Rental Inspection Checklist?
A rental inspection checklist is a document used to note the condition of a unit at the time of an inspection. When a tenant moves in and occupies the rental property, the landlord and tenant use a move-in checklist to document the state of the property and its hardware or appliances. When they move out, they’ll use a similar checklist called a move-out checklist.
It is a vital part of a standard residential lease agreement and regular inspections, and required in some states at the time of occupancy. A good checklist is an essential document for both the landlord and the tenant.
While the landlord stands to gain the most from implementing such a checklist, tenants will also benefit when they know and understand the status of the home or apartment before moving in.
These checklists are generally used during:
- Move-in inspections
- Move-out inspections
- Periodic inspections (like those required by HUD)
In the event that you discover notable property damage or a tenant contests a security deposit deduction, this record serves as critical evidence regarding the home’s state during the inspection process.
A move-in checklist may also be referred to as one of the following, depending on the local real estate market and traditions:
- Move-in Inspection Checklist
- Inspection Checklist
- Rental Inspection Checklist
- Apartment Move-in Checklist
To ensure the most effective process, in general, we suggest completing a minimum of two separate inspection forms: a move-in checklist and a move-out checklist.
Related: Property Management Checklist: Top Main Lists Successful Landlords Should Have
The Dangers of Not Using a Rental Inspection Checklist
Skipping a rental inspection checklist at move-in and move-out creates real financial, legal, and safety risks. It can also put the landlord tenant relationship at risk. Without it, there is no clear record of the property’s condition, so it is hard to prove who caused damage.
Plus, without documentation of the inspection results, both parties have an unclear understanding of the condition of the property at any given time.
For landlords, this can mean:
- Deposit disputes
- Costly repairs
- Denied insurance claims
- Missed lease violations
- Liability for safety issues like mold or faulty wiring
For tenants, it can lead to:
- Unfair deposit deductions
- Being blamed for pre-existing damage
- Slow repairs
- Overlooked hazards like pests or fire risks
For everyone, the biggest issue is lack of proof and unclear expectations. Disputes turn into word-against-word, and without documentation, you are more likely to lose in court. Documentation may also be important if a renter’s insurance claim is filed.
A simple walkthrough, with a checklist, photos, and signatures, helps prevent these problems.
How to Create a Checklist for Your Rental Inspection Process
A thorough inspection checklist needs to cover the entire interior and exterior of the building or unit to be inspected. When preparing, you can use a pre-existing template, but it would most likely have to be customized to fit your property.
If something is included in your lease or rental agreement, it should be in the inspection checklist because someone is responsible to maintain it. Try to make sure the list can help you proactively address any potential problems to adhere to tenant rights and responsibilities.
For example, a tenant is typically in charge of general cleanliness and making sure spaces are free from debris. Meanwhile, depending on your state and rental contract, a landlord might be required to keep the area free from pests and appliances in good condition and operational.
Your checklist should outline the exact status of everything included in the agreement at the time of inspection.
1. Start Outside
An easy way to create an outline might be to start outside, then continue room-by-room.
List the exterior features of the building or unit, such as:
- Roof and gutters
- Exterior walls
- Windows
- Landscaping
- Doors
- Locks
- Fences and gates
Starting with the exterior can help you catch visible issues early and set a clear baseline for the property’s overall condition before you move indoors.
2. List Each Room
Then, continue room-by-room:
- Living room
- Kitchen
- Bathrooms
- Bedrooms
- Hallways
- Mud rooms
- Common areas
- Store rooms
Breaking the inspection down room-by-room keeps the process organized and makes it easier to make sure no space is overlooked.
3. Include Every Detail
You should detail every part of each room:
- Walls
- Ceilings
- Floors
- Doors
- Cabinets
- Appliances
- Sinks
- Toilets
- Bathtubs or showers
- Heating and cooling systems
- Closets and lockers
The more detailed your checklist is, the easier it becomes to spot changes later and avoid disputes over small or overlooked issues.
4. Don’t Forget Safety
Be sure to include any safety devices, like:
- Smoke detectors
- Carbon monoxide sensors
- Security cameras
- Entry systems
Safety features are critical, so documenting their condition helps protect both parties and ensures the property meets basic safety standards.
5. Include a Place for Signatures
Finally, an inspection checklist should have a place for all relevant parties to sign and date upon review. Signatures confirm that both parties agree on the recorded condition, which adds a layer of legal protection if disagreements arise later.
Always check in with a lawyer or legal expert about your rental documentation to make sure you’re doing things right.
How to Fill Out a Move-in Checklist/Move-Out Checklist?
Because so many steps are involved in filling vacant rental properties, it’s easy to overlook minor details during an inspection. Use the shorthand in the key below to note any concerns, such as the condition of the carpet, damaged bathroom tiles, or wall markings.
Common abbreviations and keywords:
- NC: Needs Cleaning
- NSC: Needs Spot Cleaning
- NP: Needs Painting
- NSP: Needs Spot Painting
- NR: Needs Repair
- PR: Needs Replacing
The landlord and tenant must both sign the paper after completing the checklist. If any damage necessitates withholding the security deposit, having a signed checklist will help avoid problems down the road.
TenantCloud provides an Inspection Checklist Addendum to assist property owners and tenants with every detail for an upcoming or ongoing tenancy.
Related: Tenant Move In Checklist: Useful Tips You Should Know
In What States Landlords Must Provide Move-in Checklists?
Seventeen states have laws mandating some form of a move-in checklist, with other states only requiring it if a security deposit is taken:
- Arizona
- Georgia
- Hawaii
- Kansas
- Kentucky
- Maryland
- Massachusetts
- Michigan
- Montana
- Nevada
- New Hampshire
- North Dakota
- Oregon (Portland ONLY)
- Utah
- Virginia
- Washington
- Wisconsin
Property Owner Tips for Using a Move-in Checklist
Here are some recommended practices for using a move-in checklist that landlords should consider:
- Clean and examine the rental property before tenants move in.
- Schedule service professionals to address any necessary repairs.
- Boost security by re-keying all locks, ensuring your new tenant’s safety.
- Document the property’s condition by taking photos and videos before the renter moves in.
- Complete the move-in checklist with the renter, defining the distinction between reasonable wear and tear and severe damage.
- Try to make sure everything is in working order before you give renter(s) access to the unit.
- Review the lease’s terms and conditions with the renter to help prevent any misunderstanding.
- Specify which conditions may lead to a security deposit being withheld.
- Consider rental property management software to keep your process streamlined.
With the right plan in place, you can maximize your protection, minimize disputes, and streamline your entire tenancy process.
Protect Your Investment with TenantCloud's All-in-One Management
A rental inspection checklist is a fundamental tool for documenting property condition, resolving disputes, and ensuring long-term property protection. By maintaining clear records, you safeguard your investment and foster transparency with your tenants.
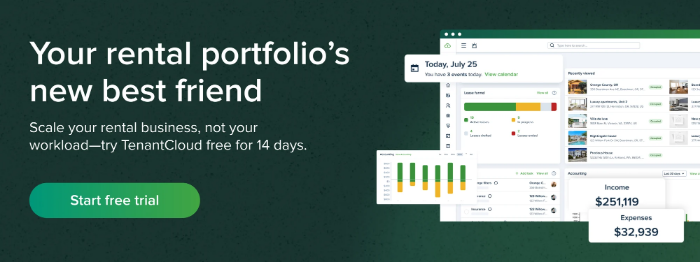
Take your property management to the next level by joining an all-in-one property management tools allow you to handle everything from screening to finances in one central place. Streamline your operations with customizable lease management tailored to state-specific requirements and simplify maintenance request management by tracking progress and assigning tasks directly through the platform.
To explore how TenantCloud can grow with your portfolio, sign up for a 14-day trial.
FAQs
What does a landlord do on an inspection?
A landlord reviews the property’s condition to ensure it meets lease terms and basic safety standards. You can expect them to check walls, floors, appliances, plumbing, and safety devices like smoke detectors. They document any damage, general cleanliness issues, or needed repairs, often with a checklist and photos.
What are the 4 types of inspections?
There are four main types of rental inspections:
- A move-in inspection records the property’s condition before you move in.
- A routine inspection can help document maintenance issues and compliance during a lease.
- A drive-by inspection is a quick exterior review of the property.
- A move-out inspection compares the unit’s condition to the original move-in report.
What are the differences between move-in and move-out inspections?
A move-in inspection establishes the starting condition of the property, which helps protect you from being blamed for existing issues. A move-out inspection reviews the condition at the end of the lease and compares it to that original record. This determines whether any new damage occurred and if deposit deductions are justified.
What are some common mistakes in rental inspections?
Common mistakes include skipping written documentation, not taking photos or videos, and rushing through the walkthrough. Some also miss small issues that later become expensive problems. Others fail to get signatures from both parties or forget to compare move-out findings to the original move-in report, which can lead to disputes.
What is normal wear and tear vs tenant damage?
Normal wear and tear refers to minor, expected changes from everyday use, such as light scuffs on walls, slightly worn carpet, or faded paint. Tenant damage goes beyond normal use and includes issues like new, large holes or cracks in walls, broken fixtures, heavy stains, or neglect that leads to avoidable damage.
What is the best stage in the process to use the move-in checklist?
The best stage for a thorough inspection is when the property is completely empty, allowing you to clearly present the condition of every surface, from floors to ceilings. Check all boxes and items on the list before the tenant brings in any personal belongings.